



A picture speaks louder than words…
This slideshow will surely help you better understand the entire installation process
.
The Stretch Ceiling installation method
.
There are 2 methods of Stretch Ceiling Installation:
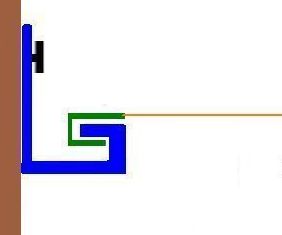
– One method without Harpoon (used by some competitors).
– The better one, with Harpoon, is custom fit to your room for maximum flatness,
which enables it to be easily removed and reassembled: THIS IS OUR METHOD !
.
.
During our initial visit, we will discuss all the possibilities and designs that can be achieved:
- Membrane finish best adapted to your liking
- Type of lighting options and most suitable film color
- Price range
- Warranty provided and, last but not least,
- Scheduling the installation
.
We will get precise measurements of your project to ensure a perfect fit of your new stretch ceiling, which is custom made in a European factory.
Step-by-step installation
.
Preparation
On the scheduled installation day, if needed we will move and/or cover and protect pieces of furniture within the work area (normally no furniture needs to be removed from the room, since access is only required just around the perimeter). As a mere precaution, we would still recommend that any specific item of sentimental value or hard to replace to be removed by you and placed in a safer area.
Tracks
A horizontal line is to be made so we use a self-leveling laser to provide a perfect ceiling flatness. All angles are measured with our device, specially designed for ceilings, in order to ensure a flawless result.
Now the tracks are cut at exactly the same dimension (which is necessary for incoming and outgoing angles) and ready to be screwed or stapled, whether to the walls or directly to your actual ceiling (it could be any type of frame or some other form of rigid structure).
.
Fixtures
Once the track installation is complete, electrical work needs to be executed before mounting your new stretch ceiling. Any other type of fixtures should be set in prior to final installation of the Stretch Ceiling membrane.
Once this phase has been carried out, it will thoroughly be checked for security and conformity.
Installation
The membrane has to be carefully unpacked, the mirror lacquered membrane is protected by a polyethylene wrapping foam for dust and security purpose.
It is also recommended that any source of cold air, in that specific room, be shut off during the installation process.
In the meantime, the room will be heated with our special equipment up to about 105 F, then very carefully, the ceiling membrane will be unwrapped from its protective covering and gently warmed up.
The membrane has to be clamped at several strategic spots using special clamps, since it is important to maintain an even stretching of the membrane, throughout the heating phase.
The Stretch Ceiling is an interior design element, and not a structural component.
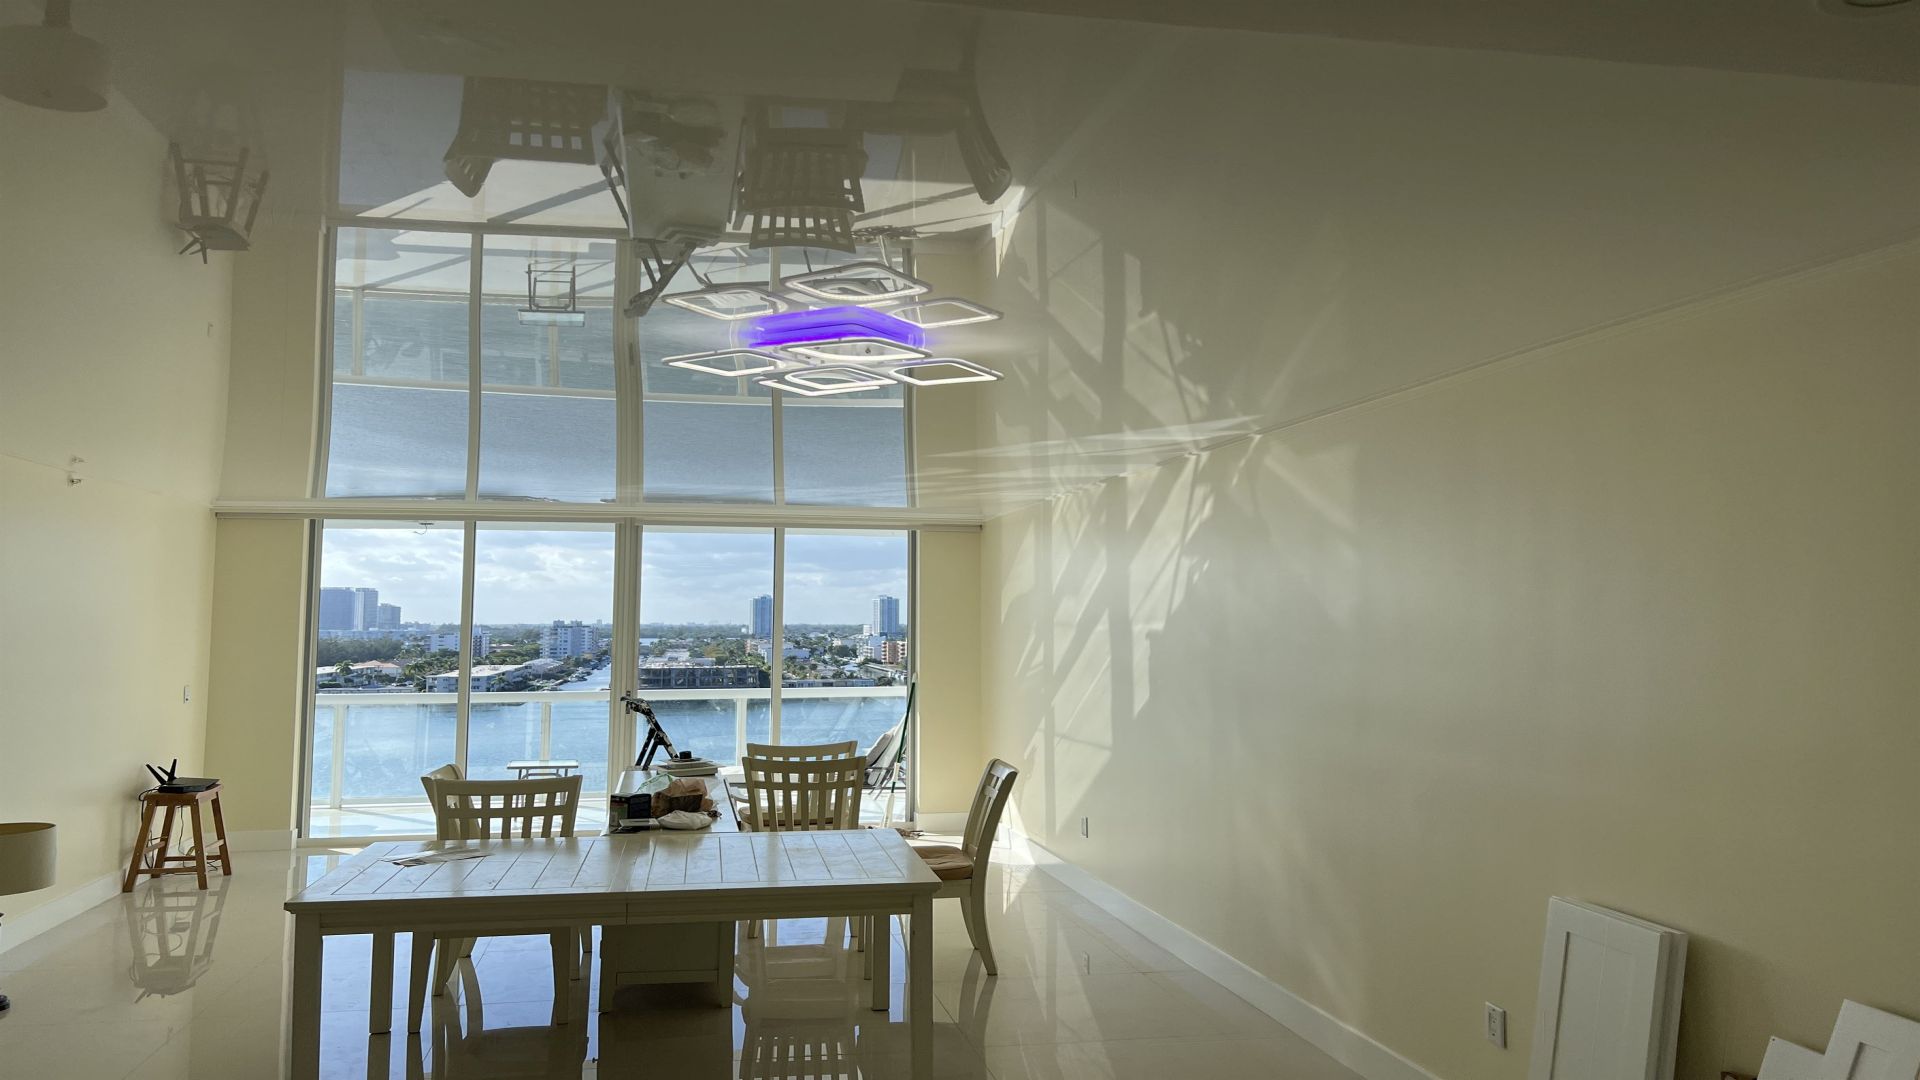
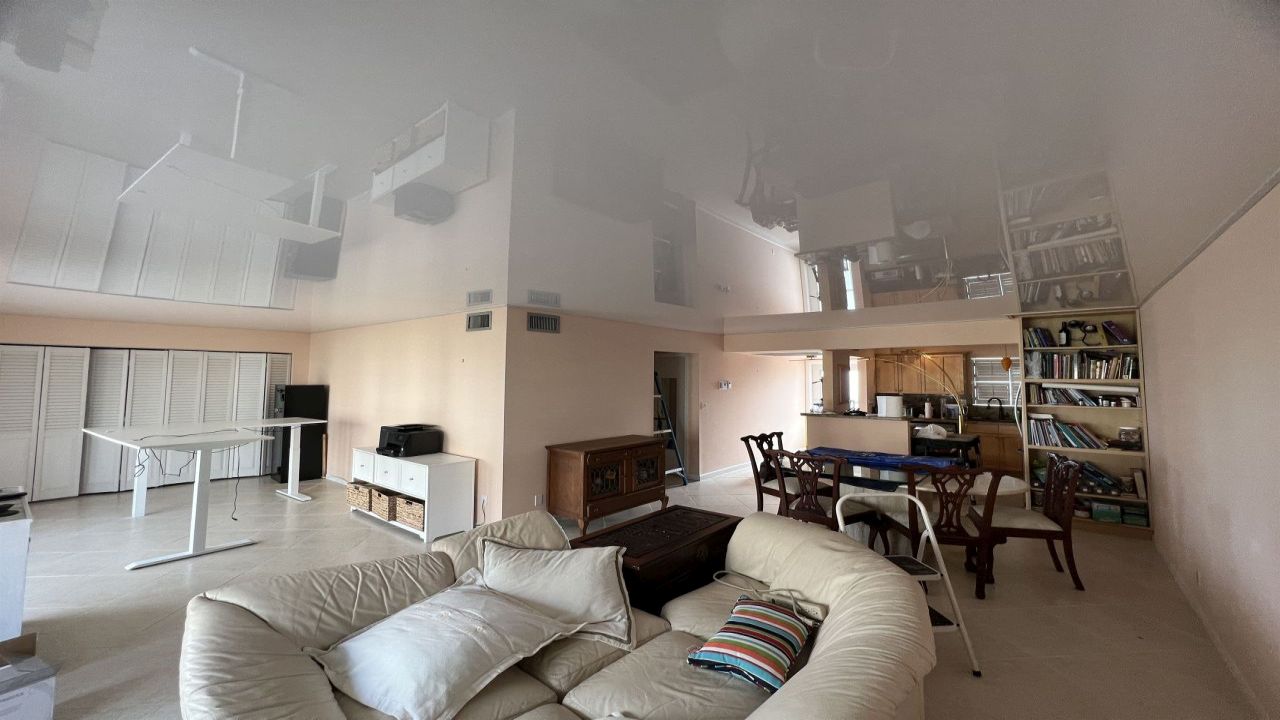
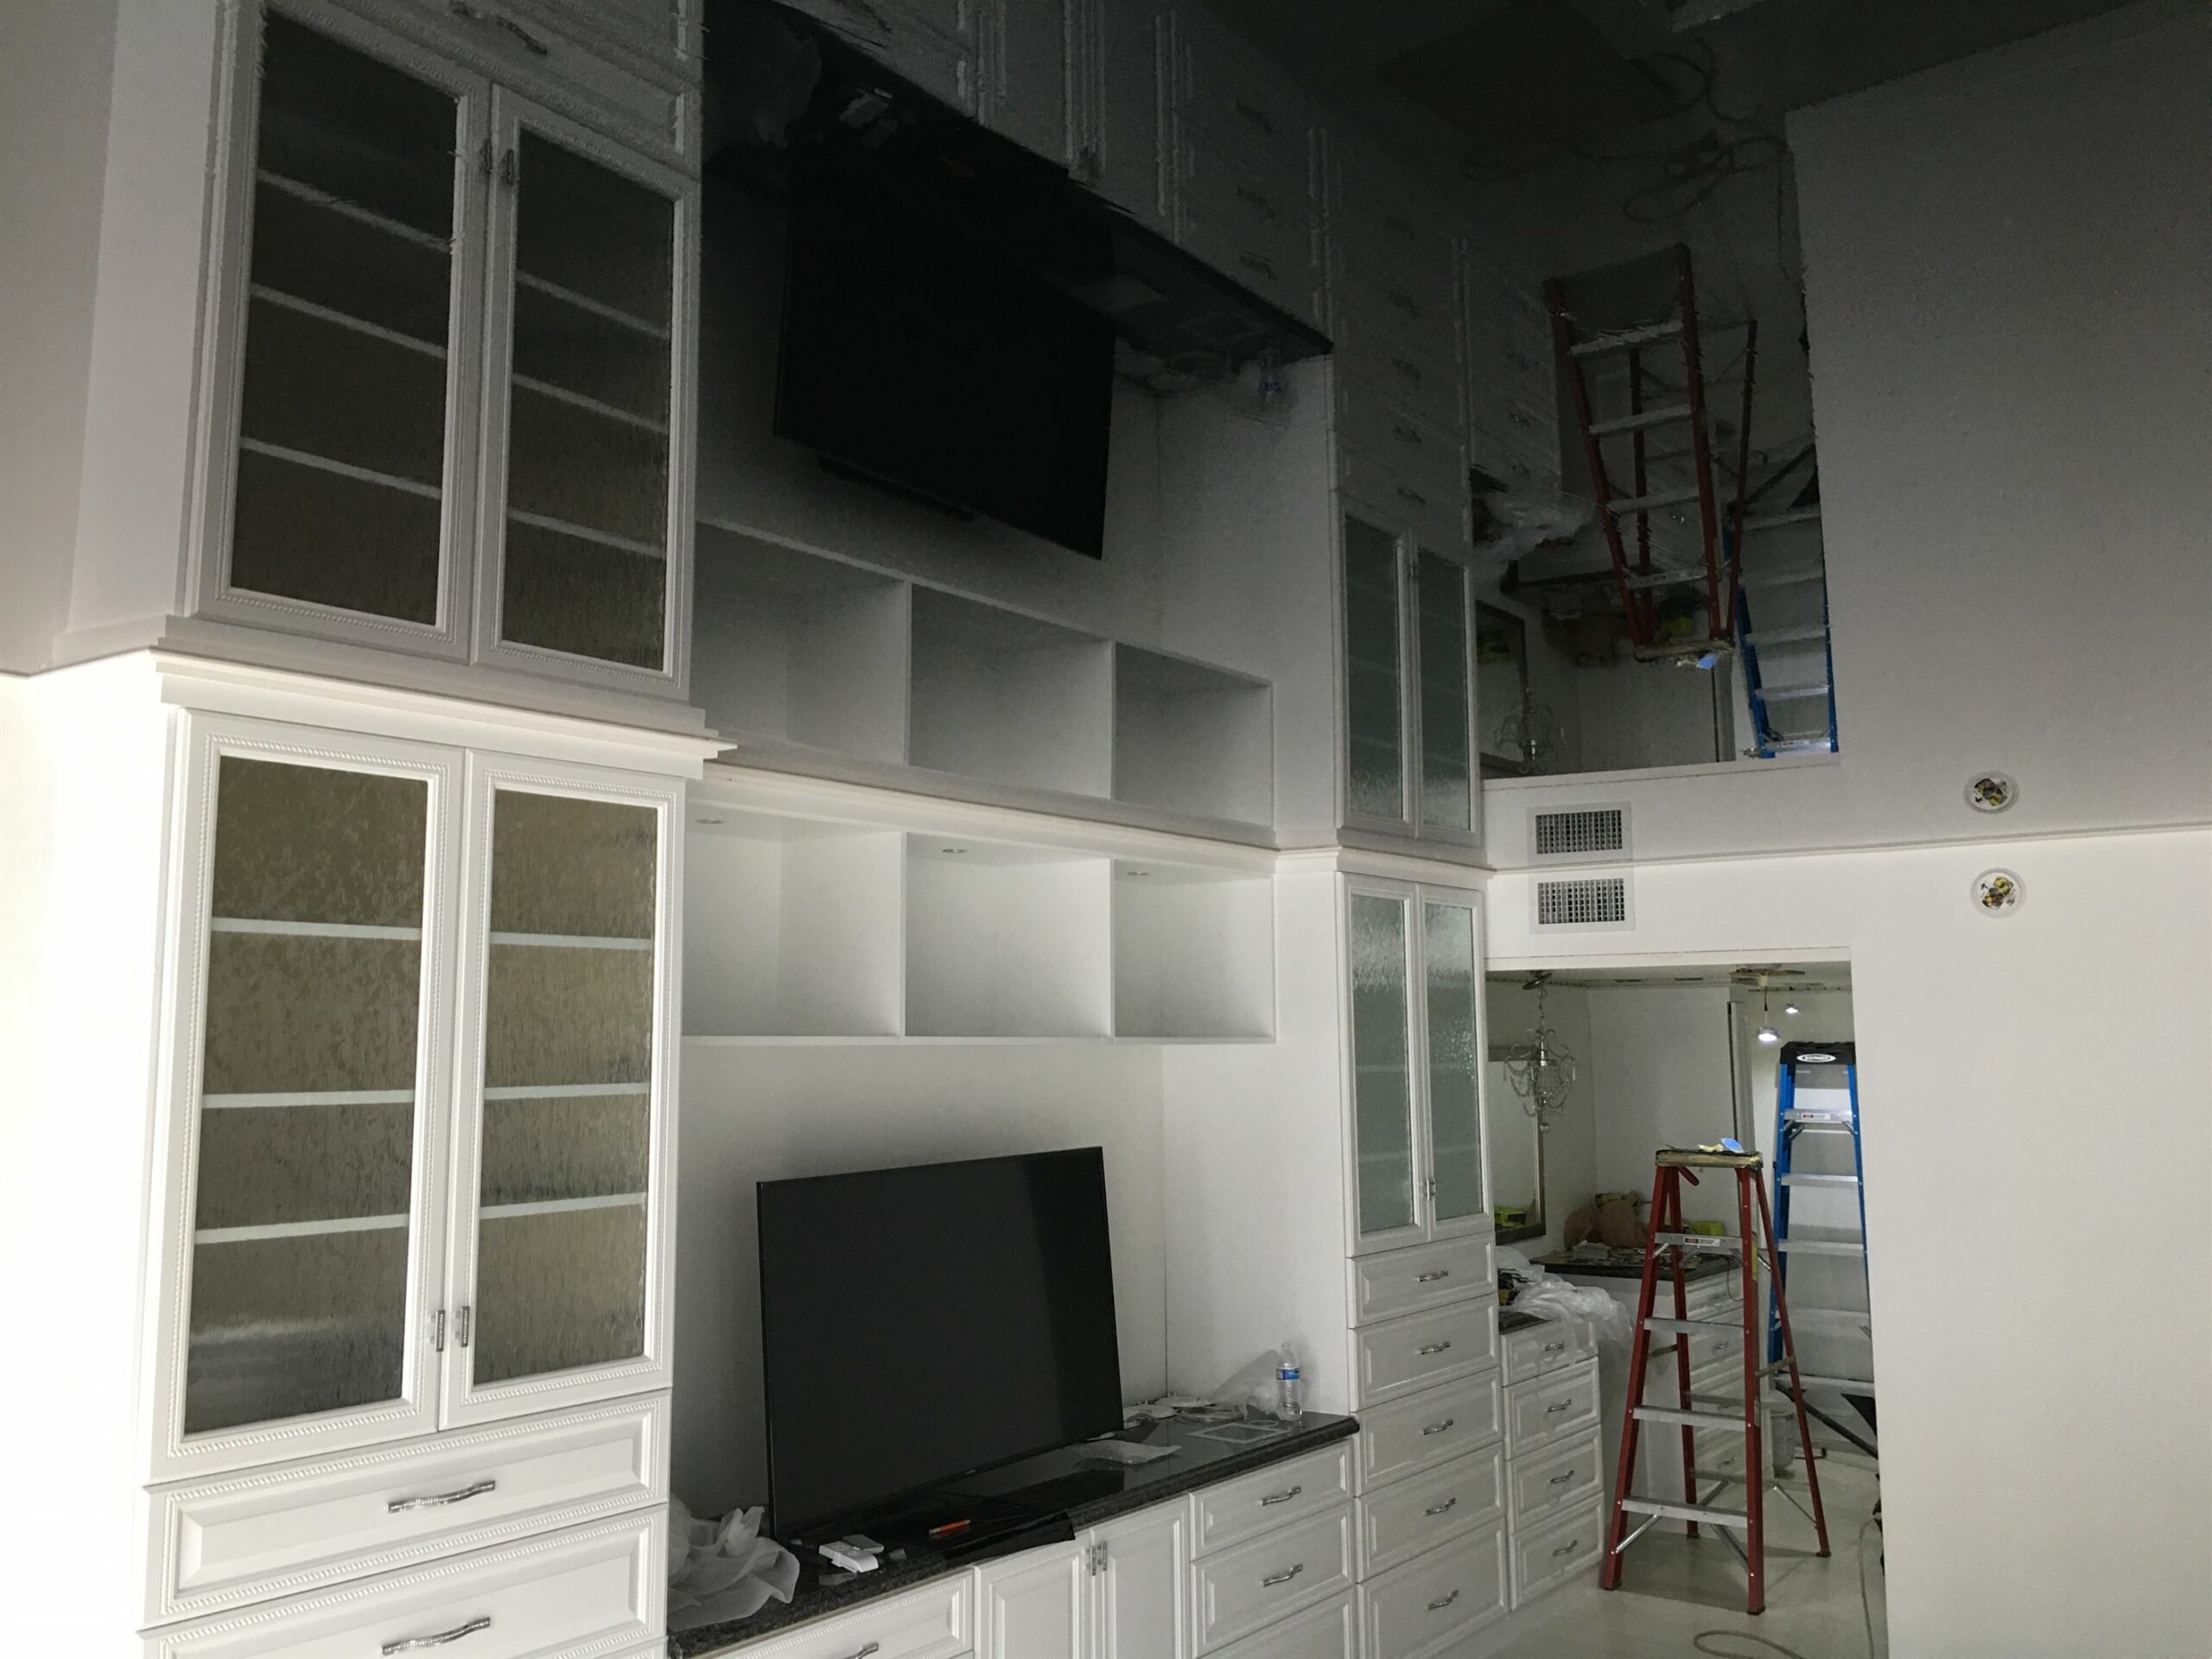
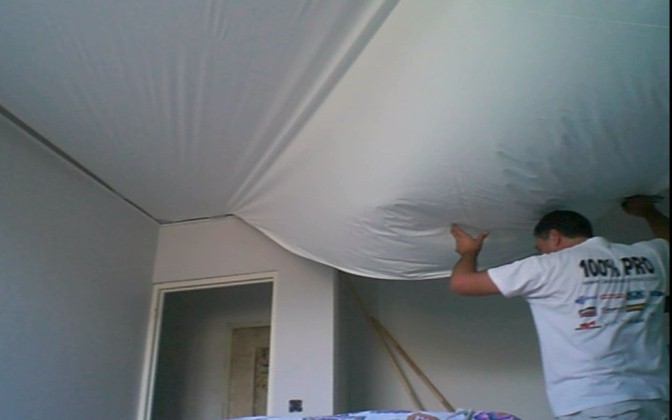
The whole process is streamlined and fairly simple: the stretch ceiling membrane is usually extended by +5% during the installation process, ensuring it to remain flat and not sag.
Then, every inch of harpoon is safely fastened so now the membrane must gradually and completely cool down, on its own. Until it reaches normal room temperature, the area must remain closed. At the end, you get a perfectly flat ceiling.
Final
As a final step, openings for recessed lighting, A/C vents, pipes, etc, are very carefully cut out into the membrane then, in order to enable the final fittings to be set up, reinforcing rings get inserted.
All previous steps require professional experience and extensive practice with full knowledge of the product, as well as the use of specialized equipment.
.
Batica Renov USA – Batica Renov France
Christian Pollini
786.334.0392
ceilingmiami@gmail.com
.
